Screenshot of final result:

Let’s start with this snippet of code:
1 2 3 4 5 6 7 8 9 10 11 12 13 14 15 16 17 18 19 20 21 | |
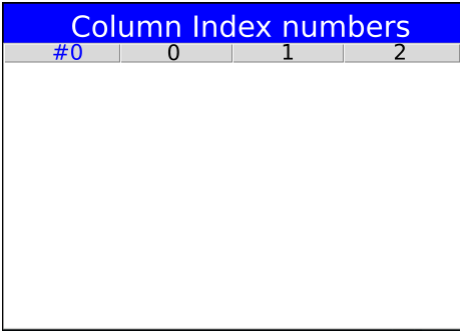
Which gives us:
 So now we have a treeview with 3 columns
(technically 4 columns if we count the first tree column).
However, the columns don’t have any text so far.
You can also create the columns later in your code, like this:
column_names = ("Make", "Year", "Colour")
treeview_cars[“columns”] = column_names
Or by using the configure method like this: (In my opinion this is the cleanest way)
column_names = ("Make", "Year", "Colour")
treeview_cars.configure(columns=column_names)
To set the text of the columns, use the heading() method:
column_names = ("Make", "Year", "Colour")
treeview_cars.heading("Make", text="The Make of the car")
You can pass the column name, or column index (starting with index 0).
Index 0 is the first non-image column.
However, there is another column before index 0, called #0

Column #0 (zero, not the letter O), is a special tree column. The name “#0” is automatically chosen by tkinter itself for the tree column. “#0” should be passed as a string, not an integer.
You can set the text for each column like this:
treeview_cars.heading("#0", text="Car Photo")
treeview_cars.heading(0, text="The Make of the car")
treeview_cars.heading(1, text="Year Built")
treeview_cars.heading(2, text="Car Colour")

You may also use the column names instead of column indexes. This will give you the same result.
treeview_cars.heading("#0", text="Car Photo")
treeview_cars.heading("Make", text="The Make of the car")
treeview_cars.heading("Year", text="Year Built")
treeview_cars.heading("Colour", text="Car Colour")
